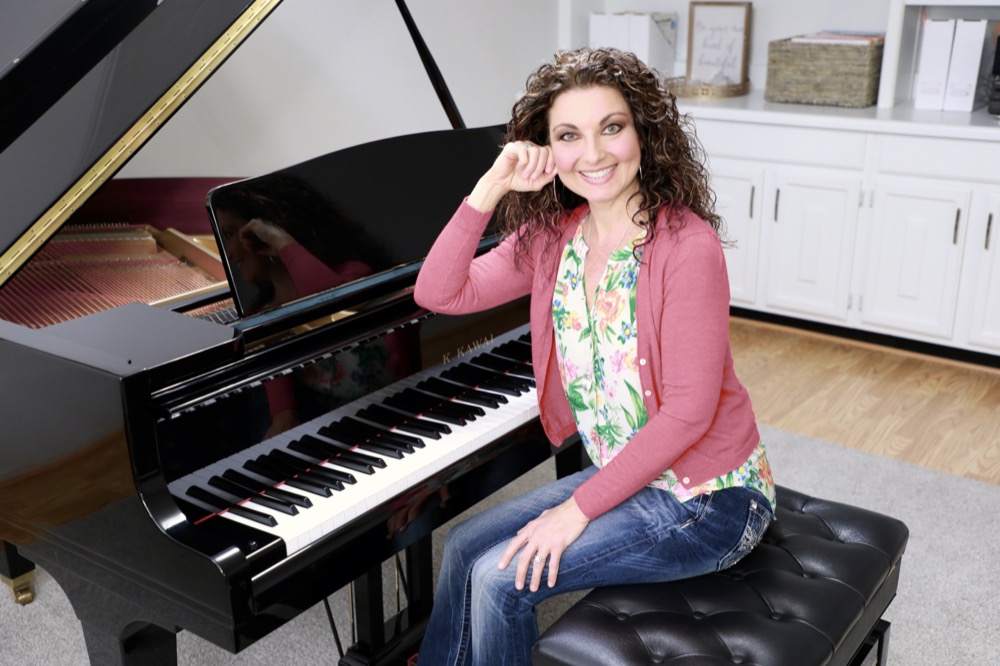
Teaching online piano lessons full-time has provided lots of opportunities for growth, especially in the area of trying new equipment! Here’s an easy way to set up your overhead camera so you can share a view of the piano keys with your students as you teach your online piano lessons (and if you’re brand-new to teaching piano online, check out our post, How To Teach Online Piano Lessons).

Inside: How to add an overhead camera view that makes teaching chords, scales, and keyboard geography crystal clear for online students! This simple setup uses a Logitech webcam attached to a microphone stand with special adapters, giving you the flexibility to switch between face and hand views seamlessly during lessons. You’ll discover the exact equipment needed, how to position everything for the best angles, and why changing camera views keeps lessons fresh and engaging. Your online teaching will feel more natural and effective when students can see exactly what your hands are doing on the keys!
Table of Contents
3 Reasons I Use an Overhead Camera in Online Piano Lessons
- In addition to my regular view, providing an overhead view of the piano keys for my students is extremely useful for sharing a new chord, scale fingering, or even teaching keyboard geography to beginners. It gives my students a clear view of the piano keys.
- Changing camera views can keep the lesson fresh and engaging by switching back and forth periodically.
- My favorite reason for providing an overhead view of my piano keys is that it helps me be the best online teacher I can be, and it helps me provide the best learning opportunities for my students that I possibly can.
Now that I’ve mentioned why I love having an overhead view, let’s talk about how to achieve it. There are lots of ways to successfully set up and use an overhead camera, and I’m going to show you the way I set up and use an overhead camera in my own studio.
The important thing is to figure out a setup that functions best for you and your students, and that you can seamlessly add as a natural part of your lessons.
Equipment I Use to Set Up My Overhead Camera
- MacBook Pro or other computer with a USB port, or if it’s a newer computer that doesn’t have a USB port, you’ll need to use a USB hub or adapter of some kind.
- An account with Zoom or another online teaching platform. I’ll be using Zoom for this tutorial.
- Logitech HD Pro Webcam C920: My favorite webcam for online piano lessons, webinars, interviews, and other video conference appointments. I have 2 of these and they’re great for wonderfully clear, bright, and crisp images. One is focused on my face, and the other is attached to my microphone stand to provide an overhead view of my hands on the piano keys.
- Tripod Boom Microphone Stand: I use this all the time in lessons. I’ve had it for several years and it has held up extremely well.
- Adapter for Microphone Stand: I use this adapter to attach my Logitech C920 webcam to my microphone stand so I can use it as a 2nd camera and provide my students with an overhead view of the piano keys during online piano lessons.
- Ball Adapter for Microphone Stand: This is my new adapter that I’m using in addition to the above adapter to connect my Logitech C920 webcam to my microphone stand. The ball gives it a much broader range of motion, and I’m able to put my mic stand to the side of the piano by my laptop instead of behind the piano bench. This setup allows me to have a better range of motion as well.
Learn How to Set Up An Overhead Camera for Online Piano Lessons

Now that you have your overhead camera set up, check out how to Show Multiple Camera Views Simultaneously with OBS During Online Piano Lessons for the next step in creating your fabulous online studio setup!
More on teaching online piano lessons


This Post Has 6 Comments
Thanks! This is very helpful. What do you do if you want to point to something on the page?
You’re welcome! I’m so glad you found it helpful. I have my music on my iPad and screen share the page so my students can see it.
Thank you so much for sharing this information. I’ve been wondering how to set up different camera angles. Now, I can!
I’m so glad this information will help you with your online piano lesson setup!
Thank you very much for this information. It will allow me to set up my camera. It just come in time.
My pleasure, Anneke! I hope you enjoy using your new camera, and I’m sure your students will be happy to see you playing your piano keys from the overhead view.