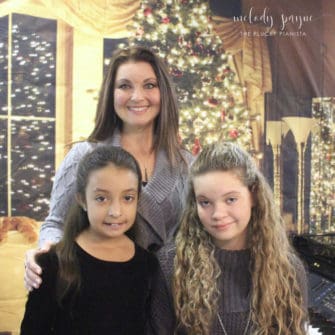
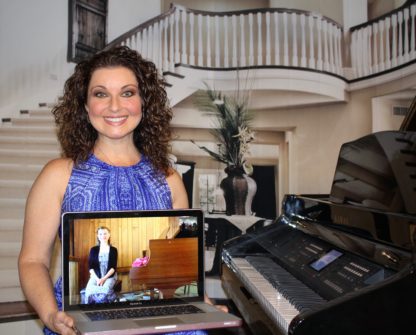
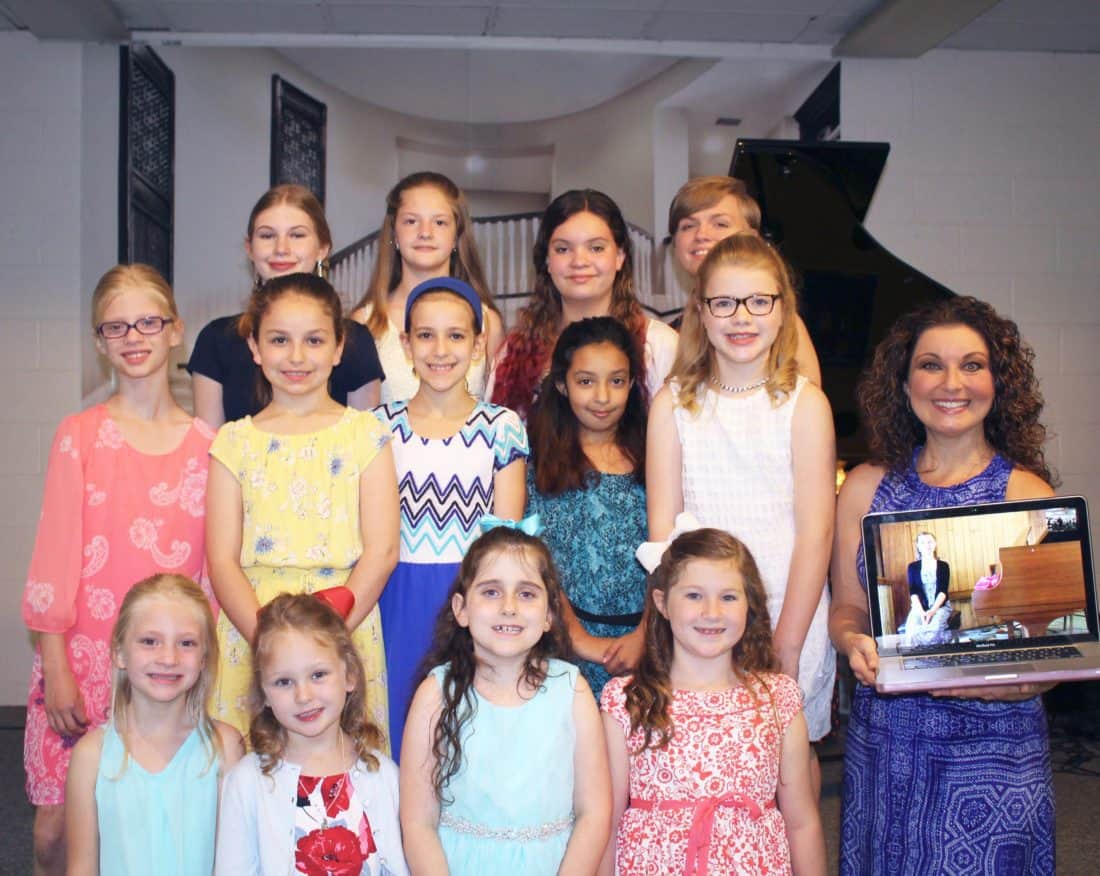
Take a look at this photo. What do you think about our decorations for our Christmas recital? I’m totally smitten with that gorgeous Christmas tree with the twinkling lights reflecting on the window, the warm glow in the room, and the curtains draped elegantly across the window. What a lovely place to have a Christmas recital, and don’t all my girls look beautiful! It was just perfect!

Confession: That’s not a real Christmas tree. Not even the twinkly lights. That isn’t a real window. Those aren’t real curtains. And the corner of the room isn’t even real! But we’re all real. I promise you’re not hallucinating 😁 How did I get such a beautiful background for our photos if it isn’t real? Psssst: I’m going to share my secret with you in just a minute!
Like many of you, I generally hold my student recitals, two per year, in the same location. After a couple of performances, the photos start looking exactly the same from recital to recital! And I think you know the visual side of me well enough to know that “same-old, same-old” isn’t OK. I get bored really easily and love trying new things, so at our Christmas recital and at our Spring recital, I’m using different kinds of decorations for photographs to keep things fresh, plus, using these kinds of decorations can help with specific recital themes too!
How did I manage these gorgeous decorations?
There are lots of different kinds of decorations that you can use as backdrops for your photos, but in my studio I’m currently hooked on vinyl backdrops like the one we used for our Christmas recital last year. There it is! The secret’s out! I used a vinyl photography backdrop (gasp!!) for those gorgeous photos!
Here’s the Christmas backdrop we used. It was beautiful, easy to hang, and easy to store for another time as well. Some of my students’ families even took their Christmas card photos in front of this backdrop!
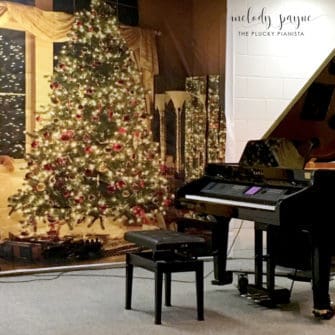
All we did was take it out of the box at home, unfold it to make sure it was perfect (it was) and then fold it up again to transport to the venue. Once there, we used Command strips to adhere it to the wall, and it held perfectly. Yes, there were still wrinkles in the vinyl, but they absolutely did not show up in the photos, as you can see above.
Now that you know my secret, here are some tips that I found helpful.
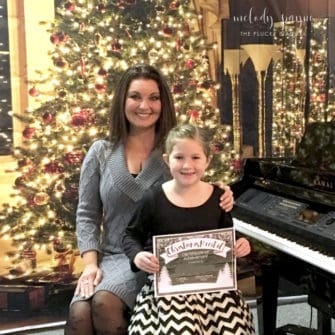
1. Don’t worry about the wrinkles in the vinyl. They won’t show up in the photos if you use your flash and place your students a few feet in front of the backdrop, at least they didn’t for us. When you stand a few feet in front of the vinyl, your camera will most likely place you (the subject) into the foreground of the photo, and your background will stay in the background, just like the second photo, below.
2. Use your flash. In these two photos, the first was taken with a DSLR camera without the flash, and the second was taken with the flash. The first one looks washed out because of all the fluorescent lighting overhead, and you can see all the wrinkles in the vinyl. It’s very easy to see that it’s basically a vinyl picture hanging on the wall, wrinkles and all. See how much better the second one is? It just glows with warmth and looks so much more real! Plus, the folds in the vinyl are practically invisible, and the backdrop stays where it is supposed to stay in your field of vision: in the background. It’s not the solo, it’s the accompaniment, if you will 🎹 😁

3. Use Command strips to hang these vinyl backdrops. They’re easy to use and they remove very easily without damaging either the wall or the backdrop. Be sure you have some really tall assistants or some chairs to stand on! My hubby and a piano dad hung this, and it was easy for them because they are both over 6′ tall. If you didn’t have a wall directly behind your piano and wanted to use a backdrop anyway, you could use a backdrop frame like this one. That way, you could even move your backdrop to a different location for photos after the recital! Be sure to stretch the backdrop and try to get as many wrinkles out as you can, for best results.

4. Purchase the largest backdrop you can afford. When I purchased this one, I wasn’t sure what size to get, so I went with the 8×8 which was only $37. Such a bargain for something that looks so amazing and can be used over and over throughout the years! Up close, it’s the perfect size, but from far away, it’s a little small. Next time, I’d go with the 10×10 or something even wider to create a wider background for our entire stage area. For our spring recital this year, I’ll be using this gorgeous backdrop. It’s a 10×10 so it will cover a bit more of the wall behind the stage than the 8×8 did. You can see a few photos at the end of this post!

5. Look closely at the shipping and arrival dates. The first backdrop I wanted for the Christmas recital had shipping and delivery dates that were WAY longer than hoped for (we’re talking over a month!), so I had to regroup and choose a different backdrop that would arrive much sooner. But I’m so glad I went with the one you see in the pictures because I adore it!
So now you know my secret for creating gorgeous backdrops for my recitals!
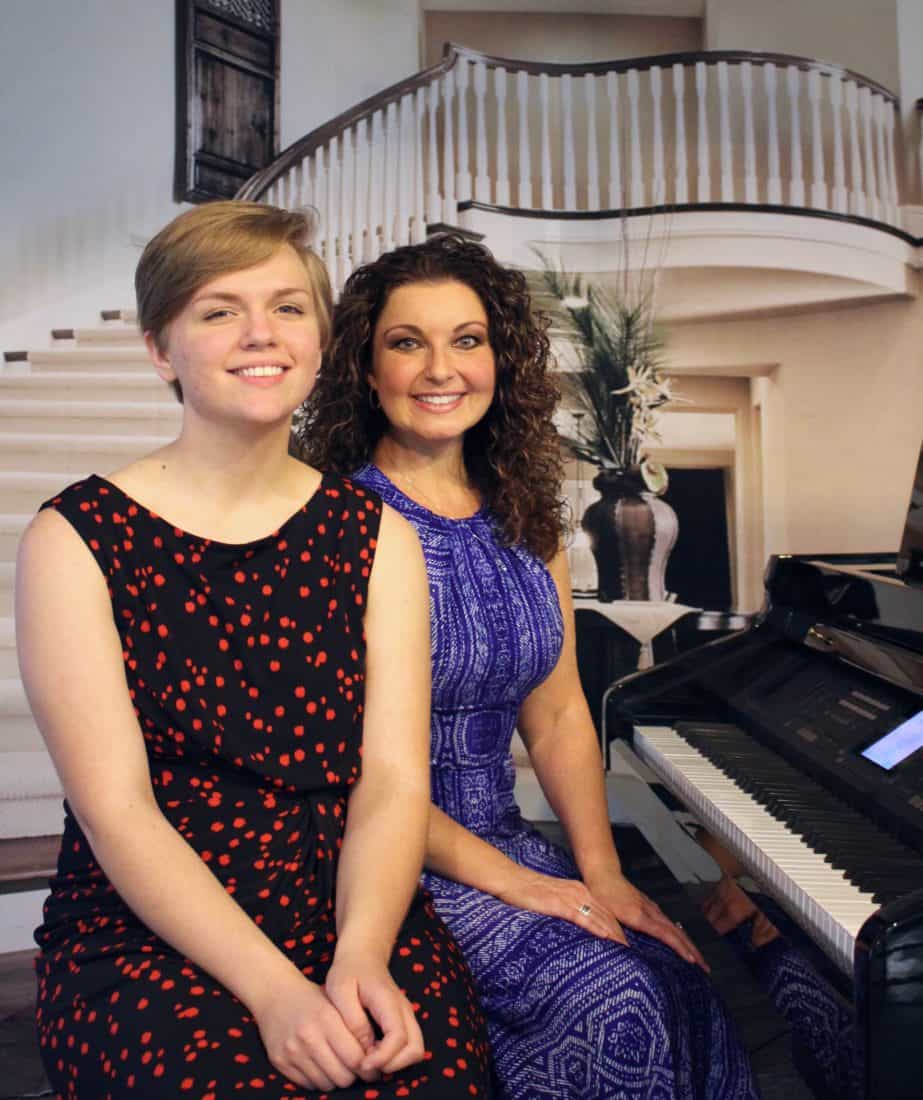
Here are a few photos from our Duet Recital, plus a few tips for using a lighter colored backdrop.
Tip 1: The wrinkles do show just a little more on the light backdrop, but with brighter lighting on your subjects and less lighting on the background, that helps hide them.
Solutions:
- Hang the backdrop a day in advance, or as early as possible the day of the recital.
- Some backdrops, including this one, suggest ironing on the lowest setting to eliminate the wrinkles. I didn’t try it because how am I going to iron a 10×10 piece of vinyl? 😁
- You can also place your students in front of the wrinkles when taking photos.
- Another suggestion is to crop the wrinkles out of the photos.
- In the Photos app for Mac, there’s a tool that can smooth some of them out, if they’re on a blank wall with no texture. This is handy too. Or if you’re a Photoshop pro, then I’m sure you know tons of ways to take care of a rogue wrinkle!
Tip 2: Practice taking some photos with different lighting/flash settings before your event. This can help you find the right lighting in the room, the best settings on your camera, and eliminate stress later. The flash does cast a shadow that is more visible on the lighter backdrop, but this could be used to your advantage! The last photo below was taken with the flash. If you look closely you can see a small shadow behind my student’s arm, but the photo itself turned out so great I wasn’t worried one bit about that tiny shadow.
Tip 3: When arranging your piano in front of the backdrop, try to make it look as much like it is really in the room/scene as possible. That way, when people see your photos, they won’t realize it’s a backdrop. I took some pictures the day before the recital and showed them to my hubby, and he was amazed how real the backdrop looked when a real piano was sitting in front of it!
Tip 4: The more students you have, the tricker it is to fit them in front of the backdrop in a group photo. I didn’t worry about it, and the photo still turned out great. The backdrop was really more for individual photos and videos like the photos above! And that’s when the backdrop is in all it’s glory, as a backdrop to an individual or teacher/student photo.

So there you go! Two very different backdrops, two very different looks, but the same recital venue! I absolutely love using these backdrops, and I’m sure they’ll be a staple in my recital prep for as long as our recitals are held at this particular venue. That way, our photos always look fresh, and the photos the parents take at the two recitals we have each year all look unique and different, instead of exactly the same. Plus it’s fun to surprise the students and their families with a new look for the stage each time 😁
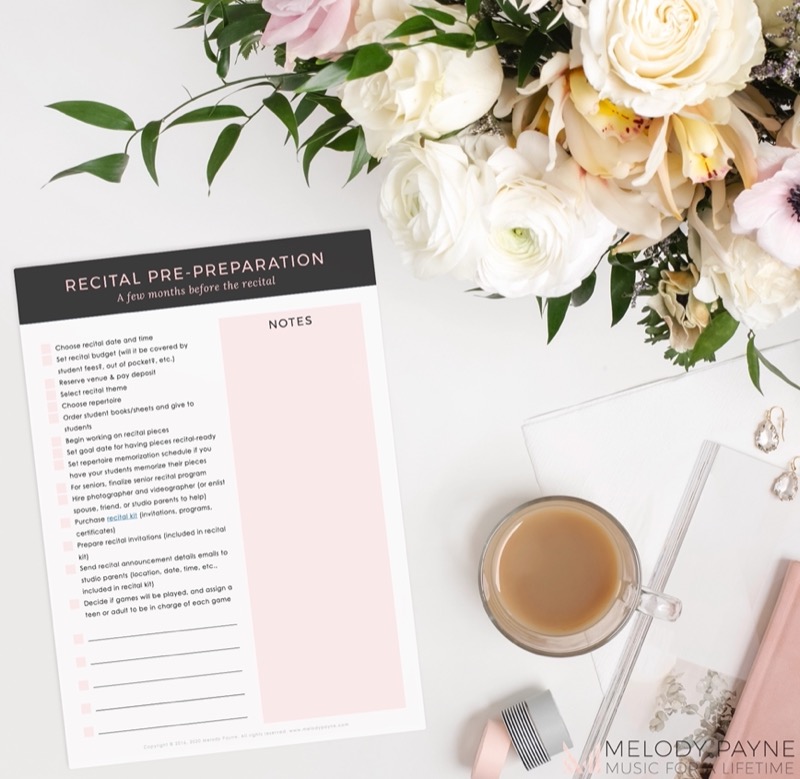
In addition to having beautiful decorations for your piano recitals, if you want your recitals to go smoothly and be stress-free, “The Ultimate Recital Checklist & Timeline” is the best thing for the job!
What kinds of decorations do you use for your piano recitals? I’d love to hear! Leave a comment below with your fun decorating ideas!
More blog posts about planning the perfect recital:
- How to Plan an Amazing Piano Recital with this Free Guide
- How to Prepare for a Christmas Piano Recital
- How To Create a QR Code for Your Piano Recital Program
- 3 Simple Rules to Help Your Piano Students Play Musically


This Post Has 4 Comments
Melody, you are amazing. I have used a backdrop and it was awesome for the year I did Movies themes. I can’t tell that any of your back drops are not the real deal. I’m amazed that you can take something this simple and do a whole tutorial on it. What one person thinks of easily, another person may never have thought about it or have known anyone who has , so I find this article very helpful.
Thanks so much, Laurie! I’m so happy you found it helpful. I’d love to see your recital decorations sometime. I’m always on the hunt for fun new ideas! 🙂
Love your Christmas background!! So pretty. I am looking for a backdrop for a movie themed recital. Any suggestions? I am going to have to build a frame as the recital room has black curtains.
Thanks, Saundra! We loved it too 🙂 In Amazon, I typed “photo backdrop movie” as my search term and these are two options that I saw. Here’s a Hollywood backdrop: http://amzn.to/2oSXNrg and here’s a red carpet backdrop: http://amzn.to/2pbJ5OT
I haven’t used either of these, but maybe they’ll help you get started on your search. You might also search “red carpet mural” or “red carpet backdrop” and find some options like this one: http://amzn.to/2qeu51a
Be sure to look at the sizes and ship dates to be sure they’ll be large enough and will arrive in plenty of time. I find the customer reviews to be very helpful too when I’m trying to make a decision. Best wishes on your fun movie recital!